Recreating Ancient Greek Ceramics
Week 5–Production Mode
By Anna Soifer

Finding ourselves with only five classes remaining until firing and very little physical material to show for our efforts thus far, in this fifth class we dove straight into the processes of surface treatment and formation of the sections of our cups. Our first task was to prepare the slip used to paint the cups. Slip is a mixture of water, powdered clay, and deflocculants, which keep the clay particles in suspension (we use soda ash, sodium silicate, and Epsom salt, but what material the ancient Greeks used is still a matter of considerable debate). To create the slip, we simply poured 1500 grams of powdered clay, similar in appearance and texture to cocoa powder, into a tall cylindrical vase about three-quarters full of water. As the mixture settled it formed three layers: sludge on the bottom, mostly water on top, and slip in the middle, which can be extracted relatively easily via suction.
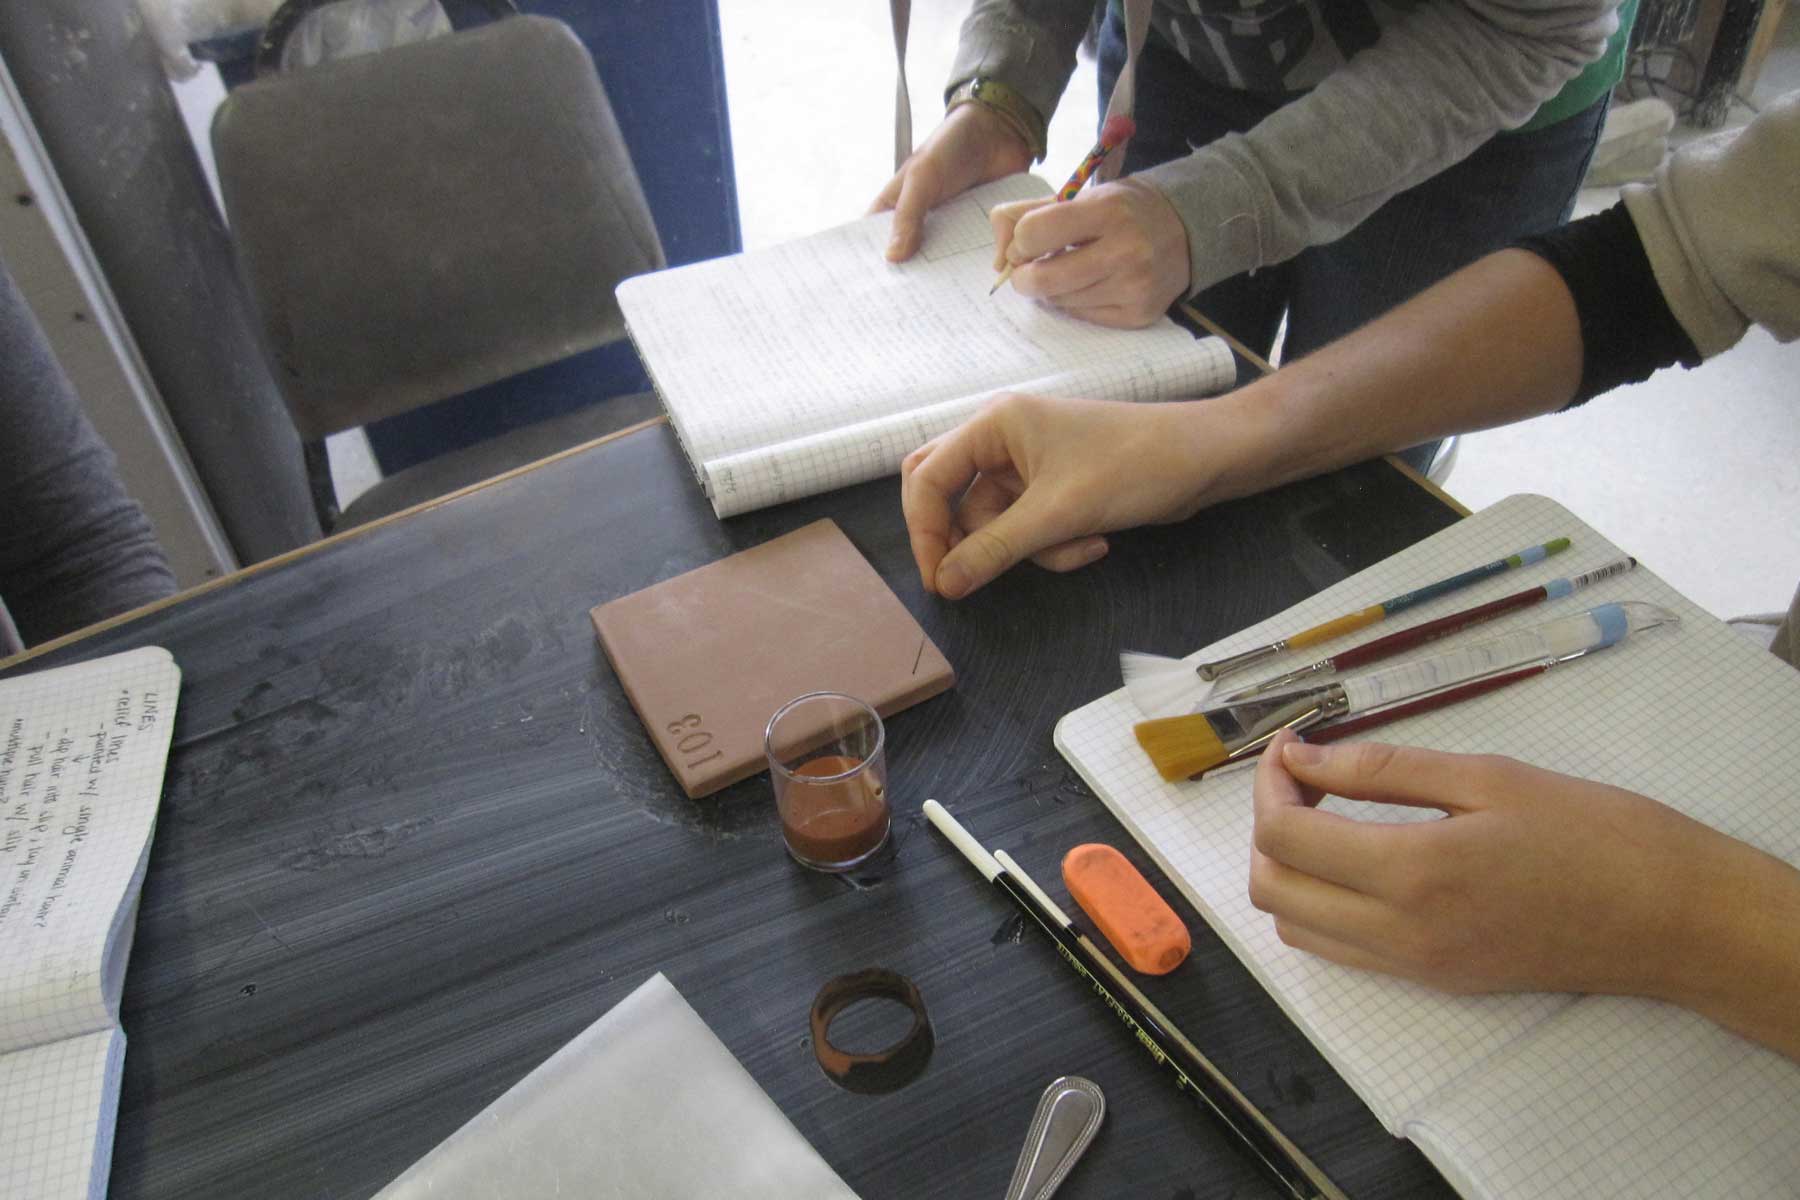
Transitioning from slip production to use, the class divided into groups and attempted to recreate the thin, raised relief lines, the thicker, flatter contour lines, and the wide, even fill lines typical of painted Greek ceramics. In general, we found slip a much more difficult medium to use than paint, as it has a watery consistency that does not adhere well to brushes, and dries almost instantaneously to near invisibility. To mitigate these problems, my group decided to follow the suggestion of ceramics scholar Joseph Noble (The Techniques of Painted Attic Pottery. Rev. ed. London: Thames and Hudson, 1988. p. 121) and added honey to our slip. We found that the honey allowed the slip to better adhere to the brush, create a raised line, and remain slightly more visible. Other groups experimented with the addition of gum arabic to similar effect. For tools, we tried everything from single cat whiskers and horse hairs to brushes ranging from size 000 to over an inch wide. As part of this process, we also attempted burnishing (polishing to a luster), and found that our own fingernails, metal spoons, and highly polished stones worked best to make the dry slip shiny and more visible.

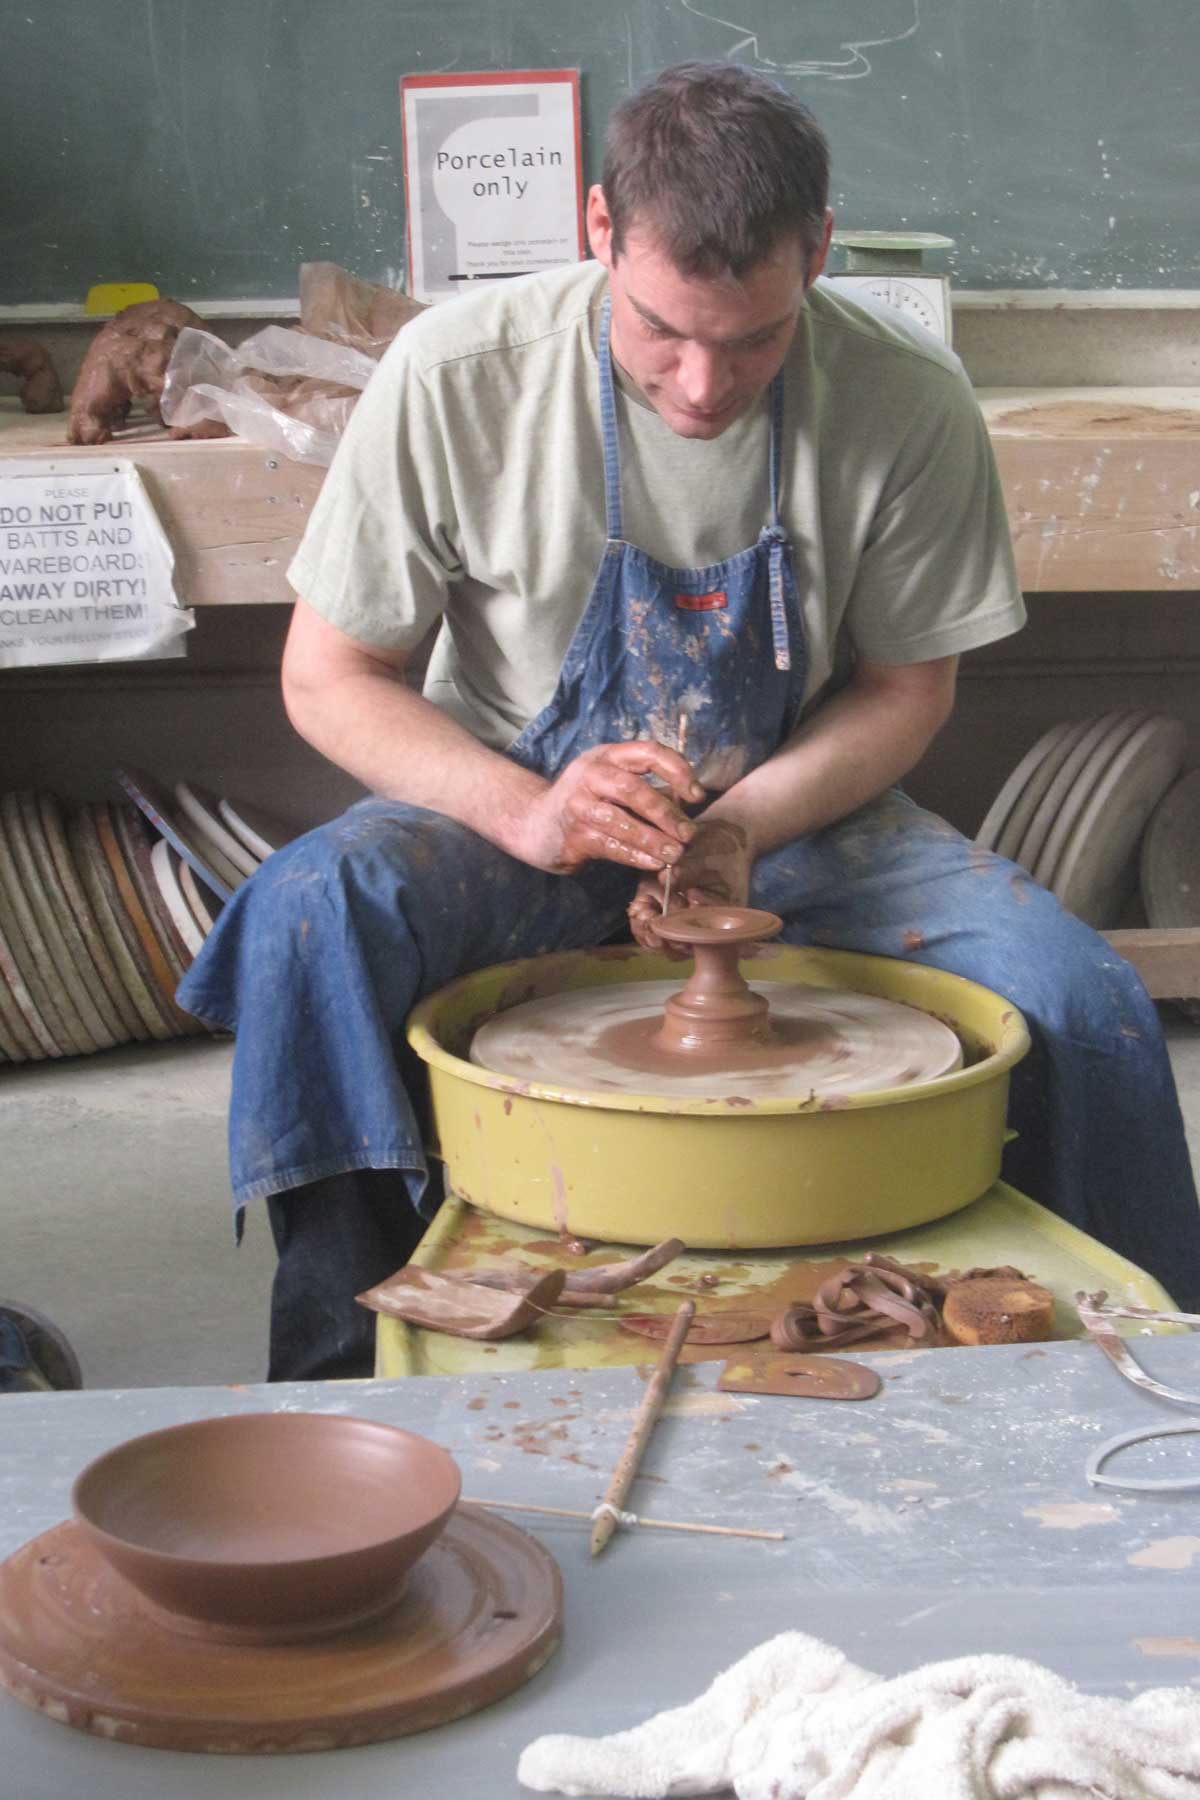
Shifting gears from surface treatment back to vessel formation, the class ended with another opportunity to attempt wheel-throwing, much more successful for many this time around, and a demonstration from Matt Hyleck, in which he produced a bowl, stem and foot, and two handles in an incredibly short period of time. The formation processes of the stem/foot and handles were completely new to us, known only from written descriptions in Toby Schreiber’s Athenian Vase Construction: A Potter’s Analysis. Matt’s demonstration gave substance to these words as we saw him lift a tall column of clay, widen it at the top, and then ever so gently flatten the rim to create the level foot upon which the cup will stand. The handles, unlike the bowl and stem are not wheelthrown. Rather, Matt rolled each one out into a “dog bone” shape, a long snake thicker at either end, taking care to use pieces from the same lump of clay to ensure similar shrinkage rates and to bring them through the steps together to make them as identical as possible. This process is not quite what Schreiber describes , but Matt believes that rolling and then refining with a few pulls at the end is the easiest way to produce handles like those on our cups, which are thicker at the ends but also have visible striations from pulling. The fact that there are different ways to produce the same handles, and even the same lines or slips, as seen earlier in the class, is one of the aspects that makes projects like this so intriguing and vital for a full understanding of the material record.