Recreating Ancient Greek Ceramics
Week 7–Choosing Our Cups
By Elizabeth Winkelhoff

As the days get longer, the number of weeks until the firing gets smaller. It was very interesting listening to Paula Artal-Isbrand, our guest speaker for the week. She had been working with red- and black-figure pottery and experimenting with slip by using modern technologies to study the varying processes. Her description of the firing process was similar to Professor Walton’s last week, with the oxidation phase, the reduction phase, and the second oxidation phase. We were also introduced to a process called Reflectance
Transformation Imaging (RTI), during which multiple photos of one object under different angles of raking light are taken to observe the topography of the surface and see the raised relief lines and indented sketch lines. The sketch lines were particularly helpful to us, because the idea of painting images with no sort of outline or sketch seems practically impossible to tackle without mistakes. Artal-Isbrand had also been experimenting with potential tools for slip, and found that a brush made with one to three hairs created relief lines that were closest to the ones observed with RTI. We ourselves had made versions of these brushes, but had trouble creating the exact sort of raised lines and keep them after burnishing.
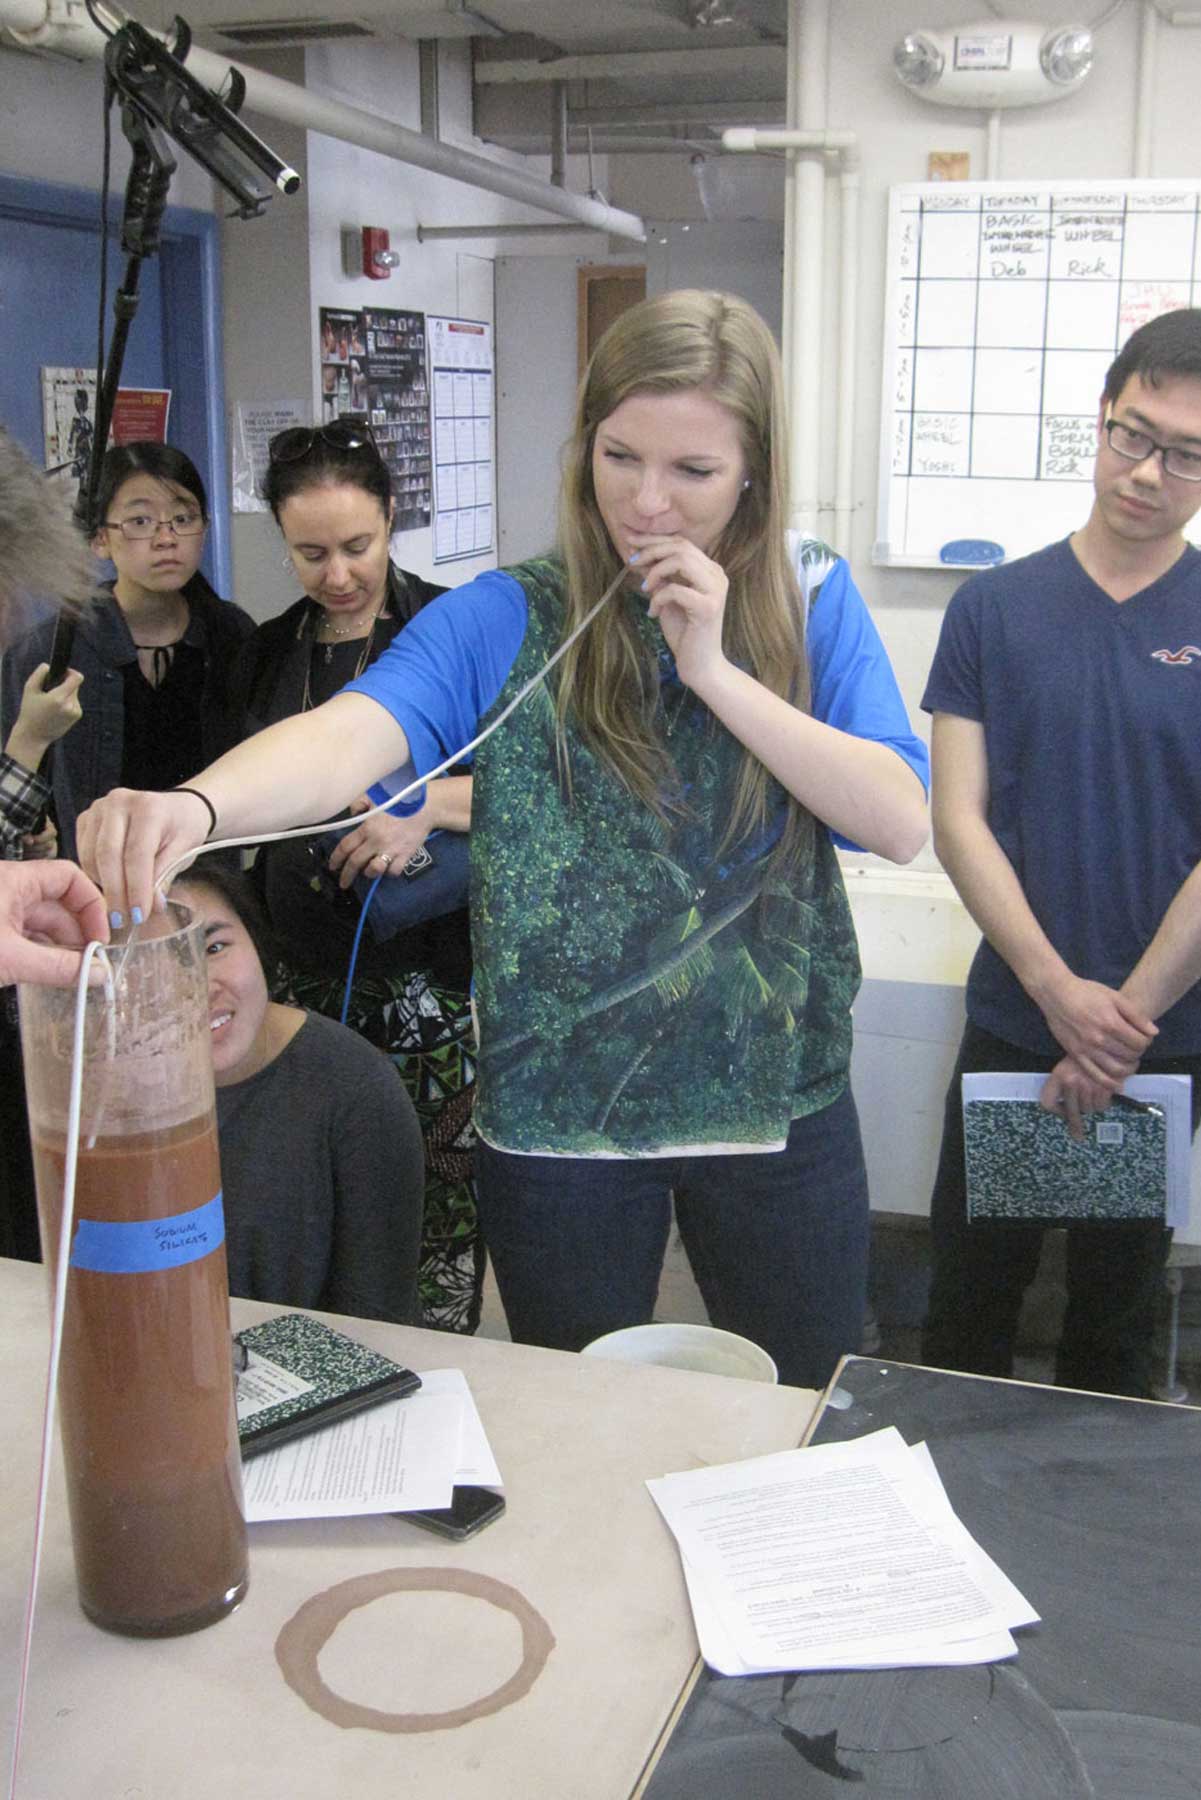
Getting back into the workshop at Clayworks after a quick visit with our kiln firing downstairs, we were greeted by the sight of the two large test tubes of our slip that we made in week 5. One, with the weaker deflocculant Epsom salt, had separated into two layers, whereas the slip with the aggressive deflocculant sodium silicate had separated into the correct three layers. These three layers are: mostly water on top, heavy clay sediment on the bottom, and slip in the middle, as we learned in week 5’s lesson. In order to get to the slip that we use on the vessels, however, we had to siphon it out using thin tubes and gravity—done by sucking the slip out. It didn’t taste spectacular, but recreating the ceramics means recreating the experiences.

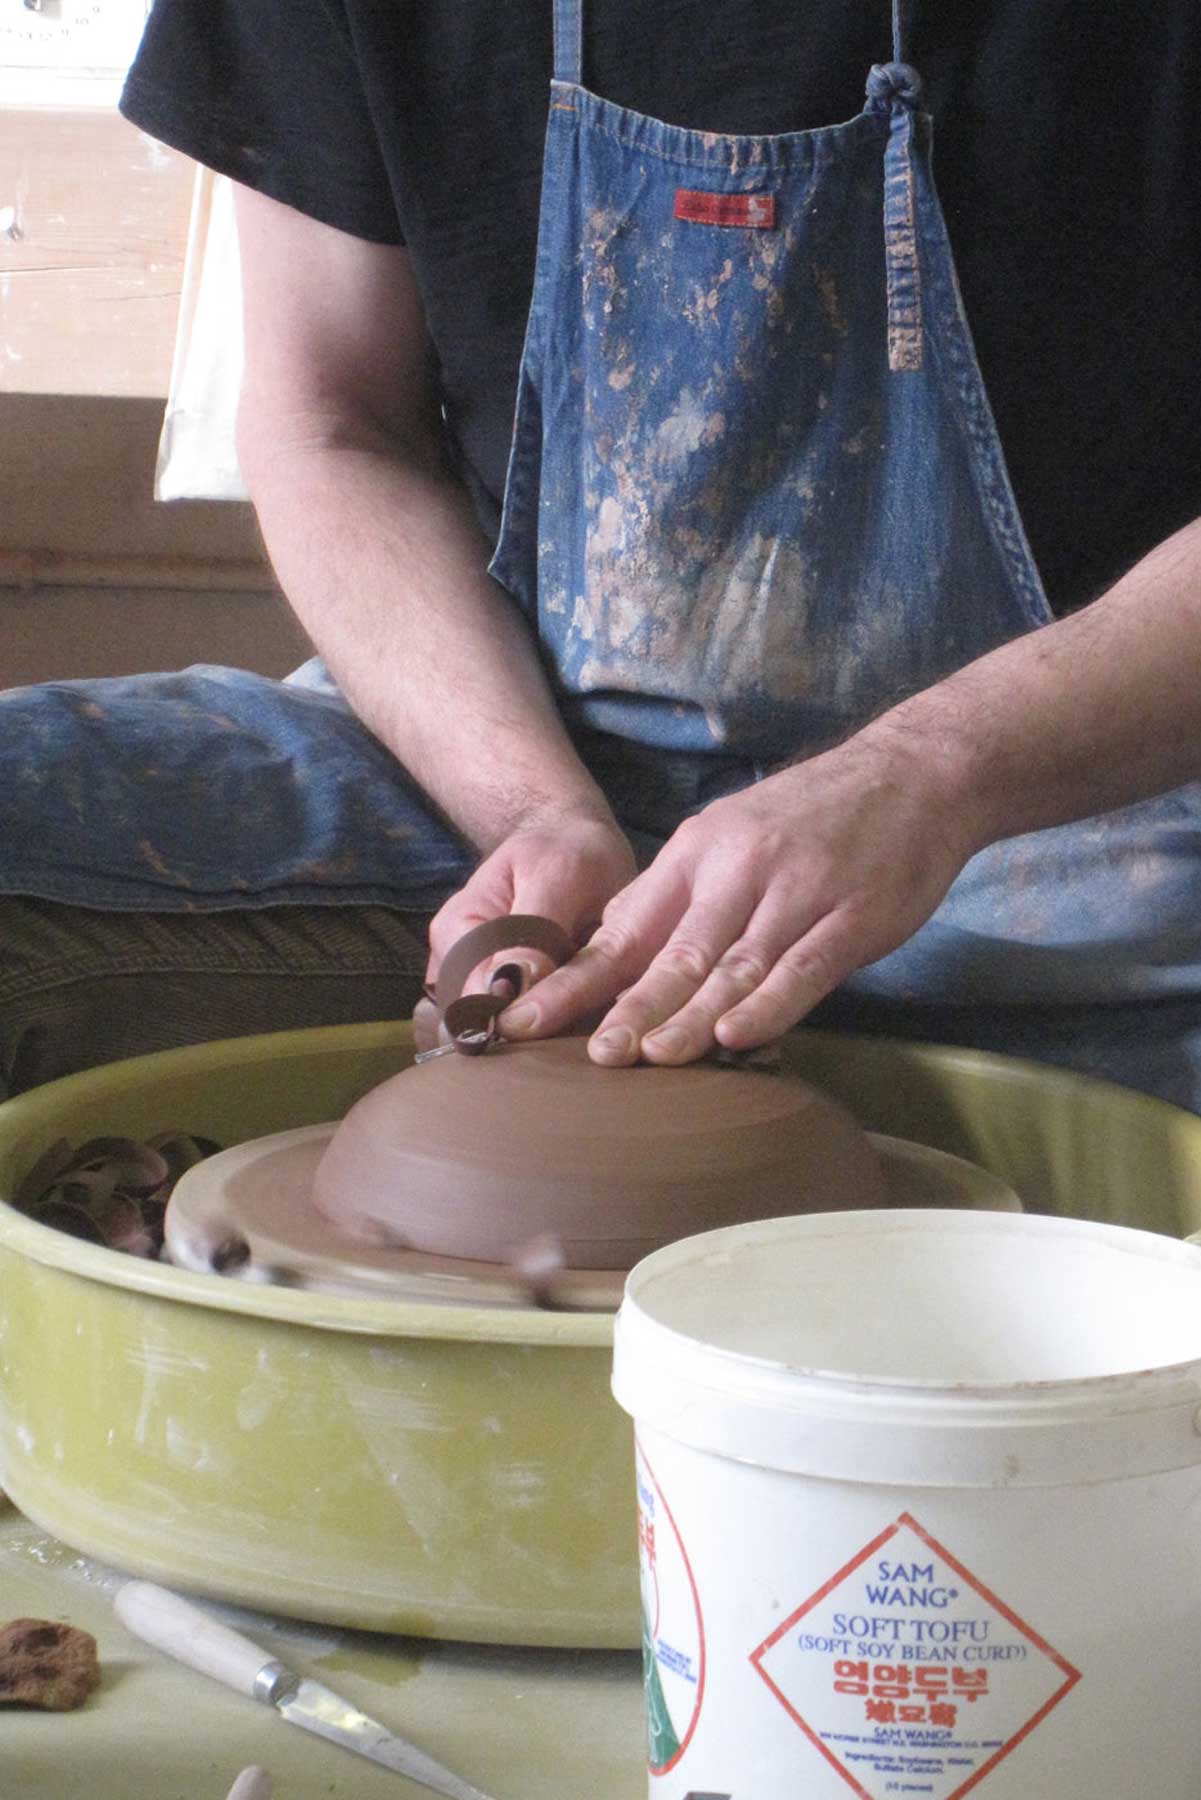
But with our crunch for time, we wasted not a single minute before we moved over to the wheels to watch Matt trim the bowl for a kylix and then put on the handles and foot. The eggshell-thin cups that we see in the museum are that way because of the trimming process, in which the potter creates the round bowl shape and gets rid of the imperfections on the surface. It is common that after adding on the appendages, the clay will dimple inwards. If the cup is too dry, it won’t be salvageable, but if the cup is leather-hard and a bit more malleable, the potter can shape it back. During our first lesson at Clayworks, Matt told us that clay had a memory, and that if it was warped at any time during the leatherhard stage, the warpage would be visible after firing and create a weak spot. So, the areas where handles or feet were added on could have the possibility of weak spots where the cup dimpled, and this could be visible on certain sherds.
We ended with the four groups claiming kylikes for their own to paint and eventually fire. It all became so much more tangible, seeing our kiln firing and our kylikes drying. We aren’t just reading and speculating about the cups anymore. It brings such a fantastic and fresh perspective to the craft.