Recreating Ancient Greek Ceramics
Week 12–Slip Ups
By Lauren Aldoroty

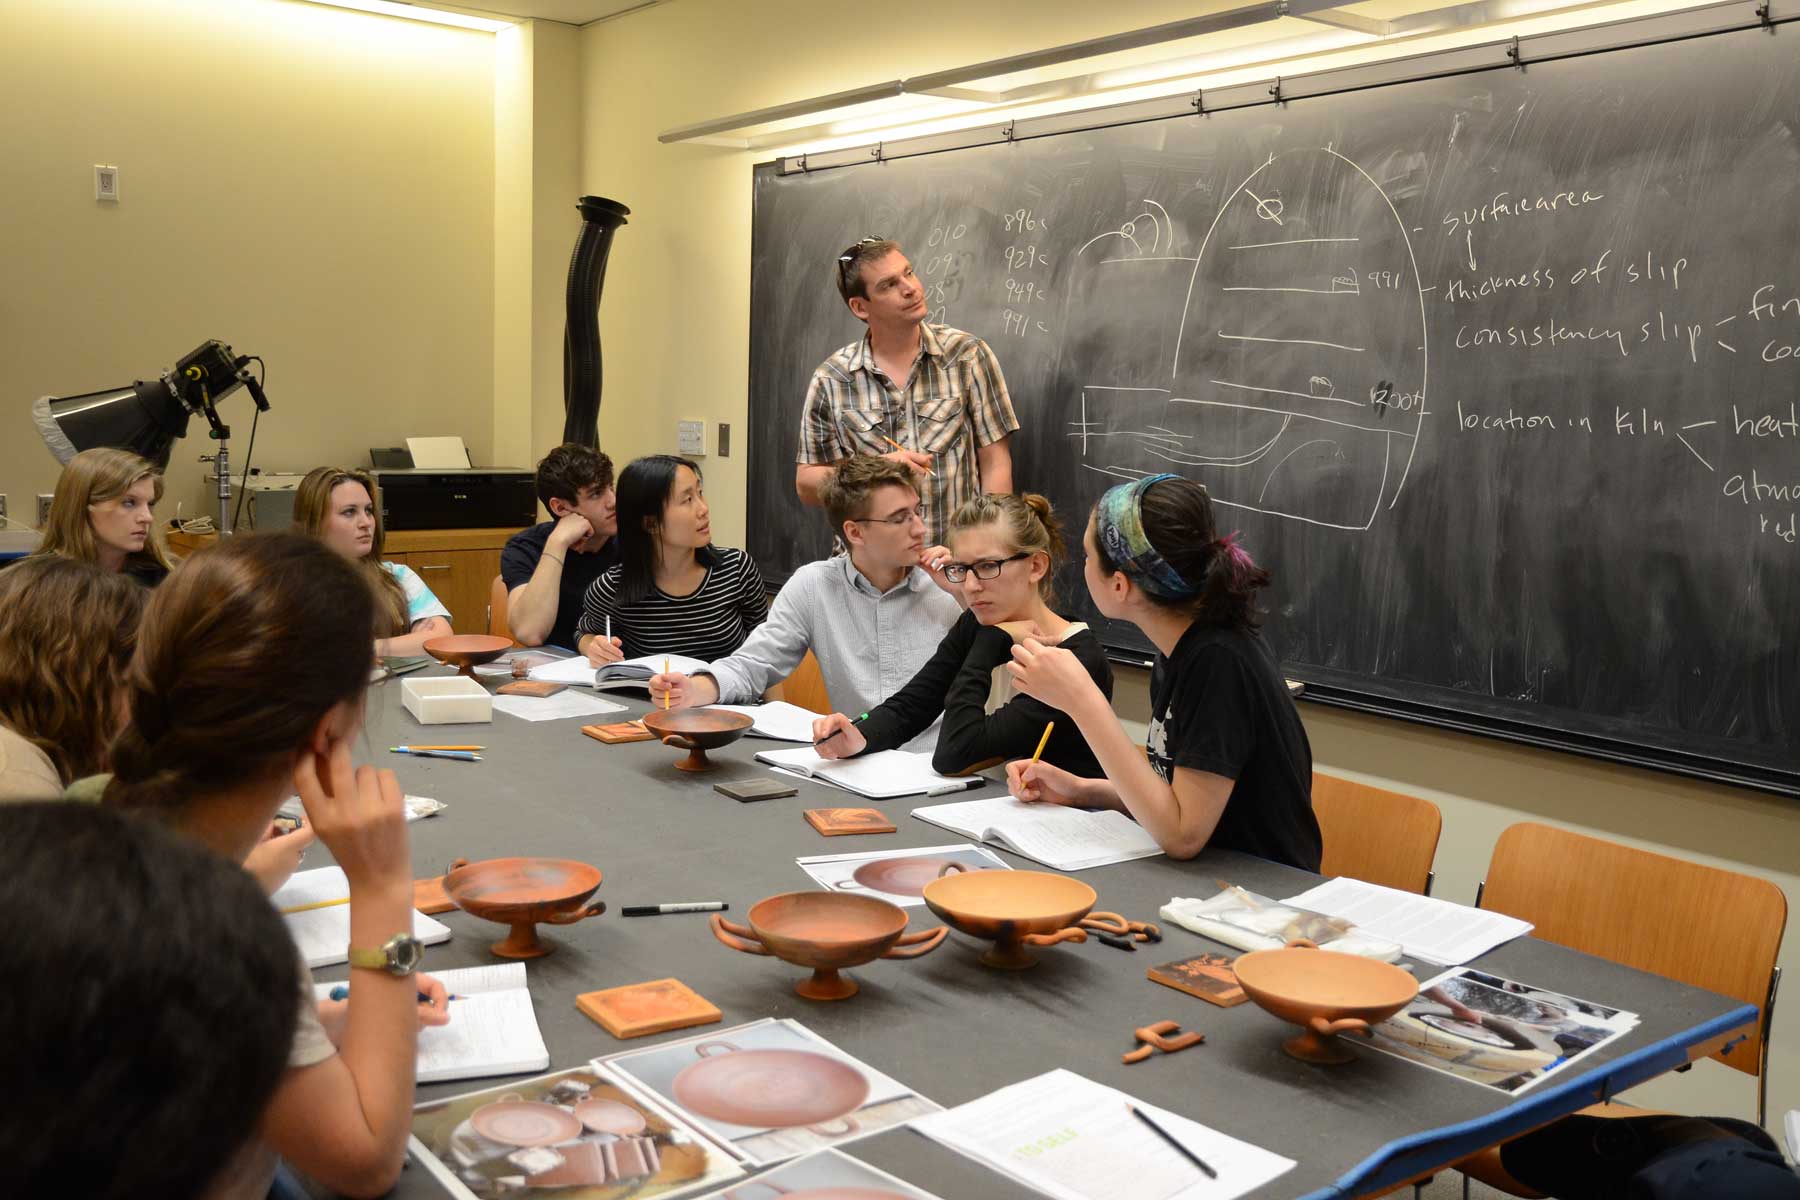
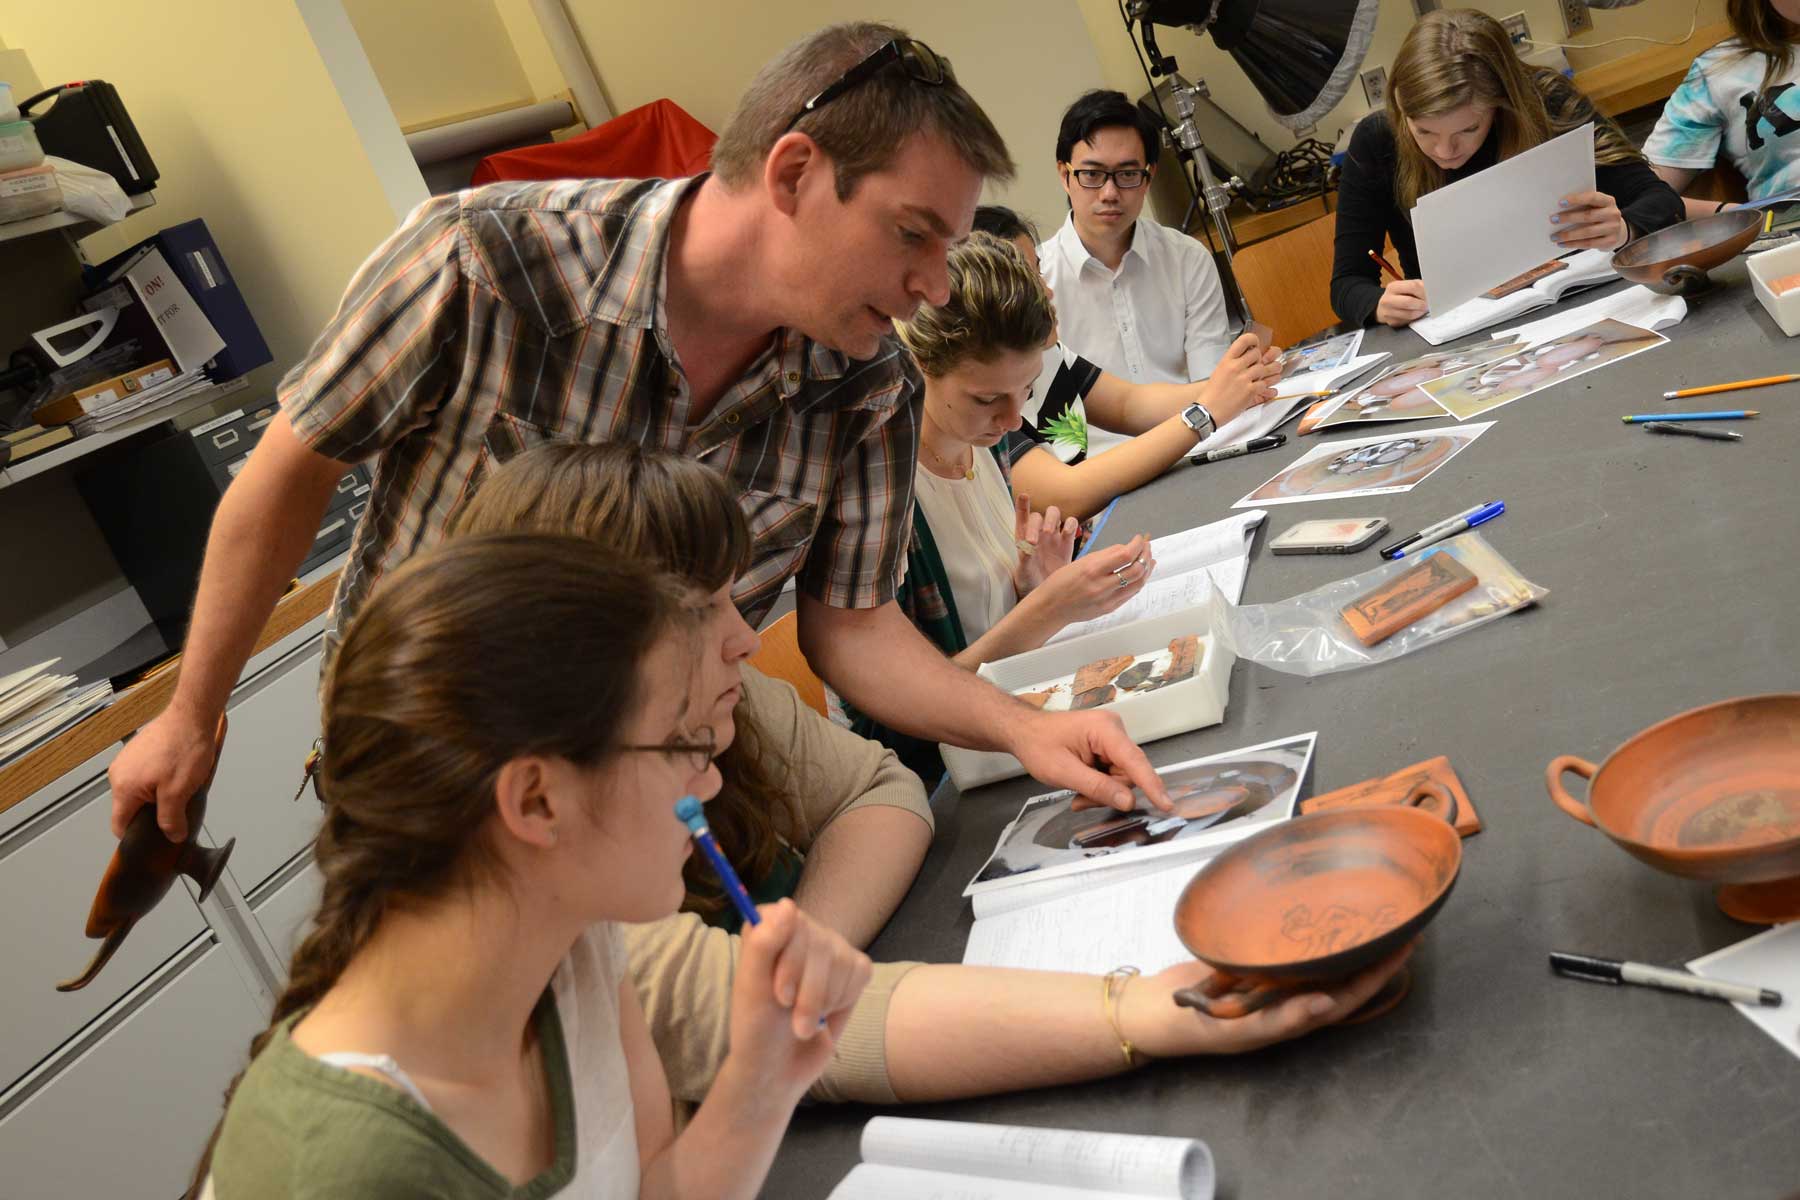
This week, we had two objectives: to present our work at the first annual JHU Undergraduate Research Day, and to analyze the results of our firing. At URD, everyone in the class took turns manning our class’s poster and answering questions about our project. It was exciting that so many people were interested in our work! In class, we returned to the museum after several weeks away at Clayworks to inspect our fired cups and tiles. Some pieces showed the signature red and black of Athenian pottery we were aiming for, while others did not turn black where they were supposed to, and others turned black almost everywhere. We observed a variety of defects, including scorching, warping, overfiring, underfiring, cracks, and discolorations from debris. These problems are reflective of the production process—from its very earliest stages all the way up to the firing process—and we have a lot to learn from each pot!
A major factor in the variation in color of our pots was the approximately 250°C temperature difference between the top and bottom shelves of the kiln. Our kiln had a total of four shelves that stacked one on top of another. In order to track the temperatures at different levels in the kiln, we had placed pyrometric cones at the lowest shelf (the one just above the firebox) and also the third shelf up from the firebox, in addition to a digital pyrometer at the very top of the kiln’s firing chamber. Pyrometric cones are small, pyramid-shaped clay objects that bend when subjected to a certain amount of heat. Matt and Cami created two “cone packs” for our kiln shelves by grouping cones designed to melt at 896°C, 929°C, 949°C and 991°C. Based on our measurements, the pyrometer at the top of the kiln recorded approximately 950°C, the cone pack on the next shelf down suggest we got to 991°C, and the fully melted conepack on the lowest shelf in the kiln suggests that we got close to 1200°C! The result of these temperature differences was obvious. The slip on the pots on the top shelf was barely vitrified, whereas the slipped areas on the pots near the bottom of the kiln which was the hottest, turned black but were likely overfired.

Another major factor in how black (or not black) our slip fired was how fully we managed to create a reducing (i.e., oxygen-poor) environment inside the kiln around 950°C. Since the heat in our kiln climbed very quickly to 950°C, and we did not carefully control the placing of bundles of wet twigs far back into the firebox, we likely did not starve the inside of the entire kiln of oxygen. As we know from our readings, this reducing step is critical for changing porous red iron oxides into vitrified black iron oxides. As it seems that we only managed to create a reducing atmosphere primarily in the lowest chamber of the kiln, and perhaps just along one side of the kiln, pots and tiles in other areas did not turn black as we’d hoped.
Another common problem is that our cups and tiles were covered with white flecks. These were a result of ash and other debris from the firing process landing on the surfaces of the pots and tiles and shielding these areas from the kiln environment. We also had numerous black scorch marks on the sides of cups and tiles that were along the pathway that the kiln’s flames took as they moved through the firing chamber and out of the chimney. The solution to these problems would be a protective enclosure for the pots to rest in— such as other pots—during firing called a saggar box.
The most exciting part of examining our results was piecing together the chain reaction caused by a tile that exploded in the kiln because it hadn’t been fully dried before firing. By comparing our results with the photos of the loaded kiln, we figured out that when the tile exploded, it knocked two other tiles into each other. They did not vitrify where they were in contact, and had horizontal cracks as a result of the impact. The explosion also knocked off an adjacent cup’s handle! After looking at our own results, we examined the museum’s ancient vases for flaws of their own. Examining them up close was more impressive than the first time, especially since we’ve tried to replicate them and now know how difficult it is! At the beginning of the semester, they seemed flawless; today, we were able to notice defects, including uneven firing and painting errors.